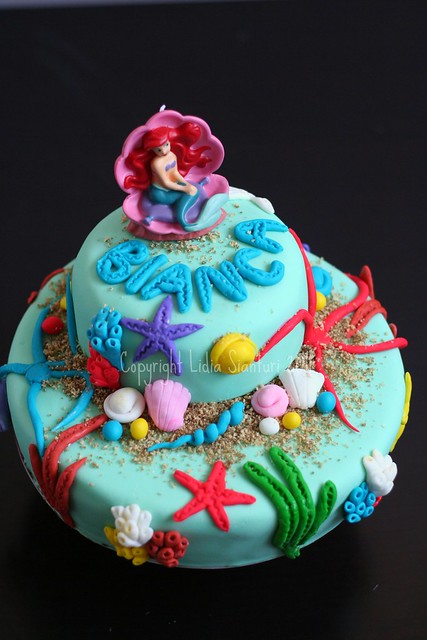
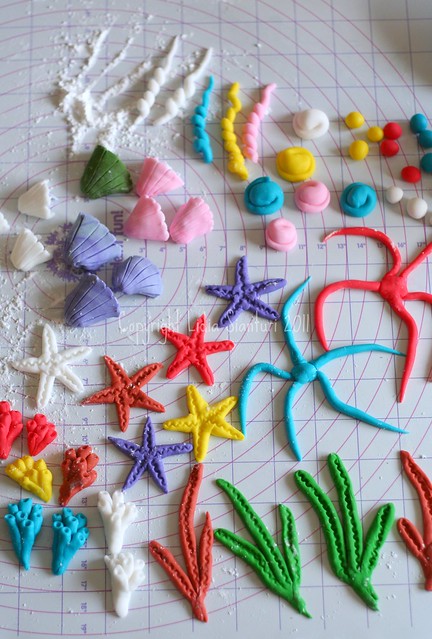
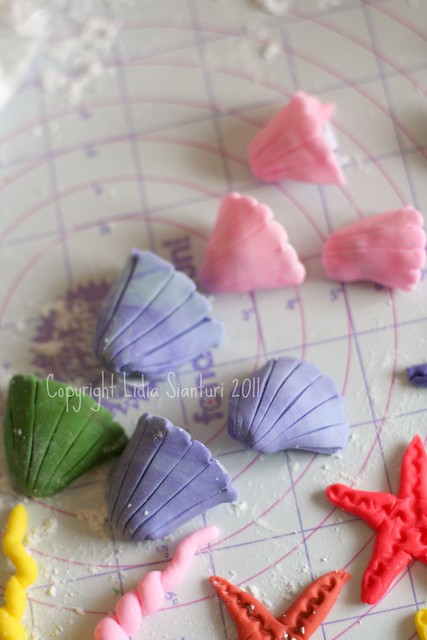
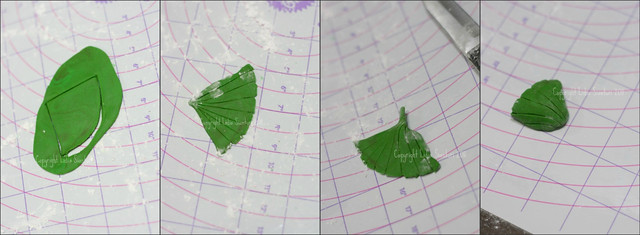
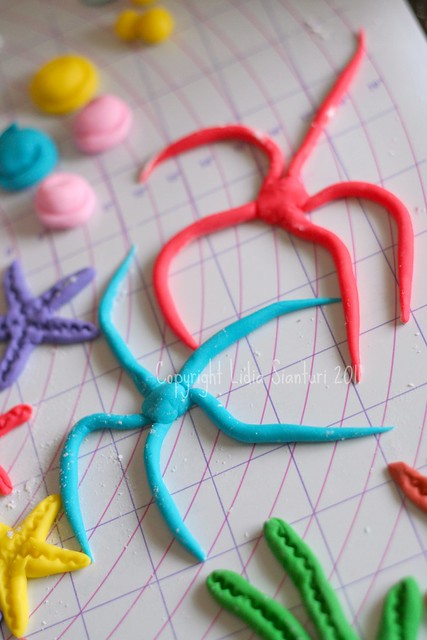
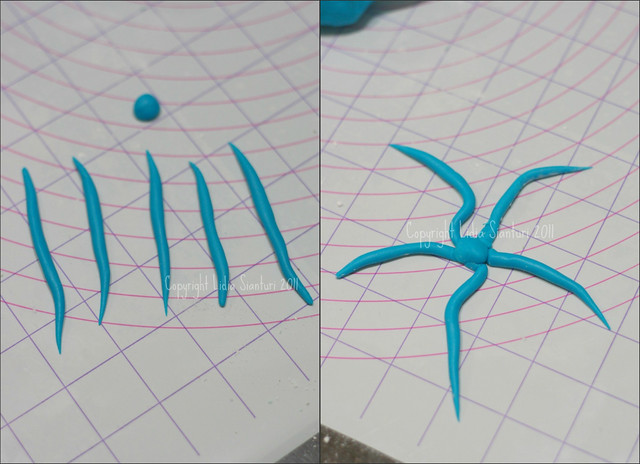
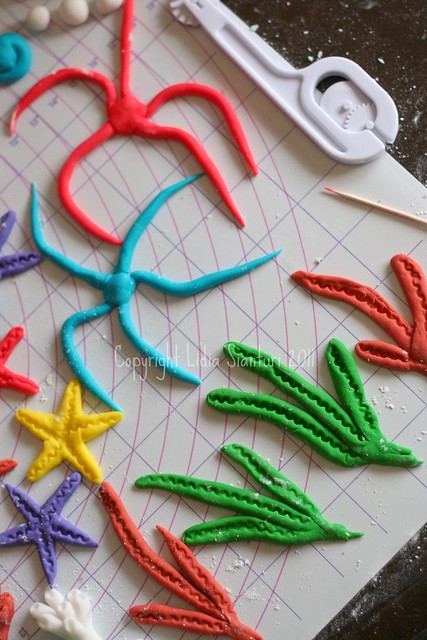
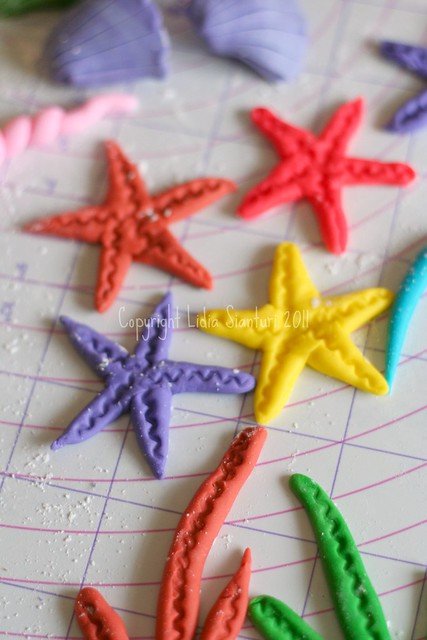
Since it is an "Under the Sea" theme, I had to fill the surface with sea creatures. I browsed around and found useful tutorial here and here. Others were just made using my imagination.
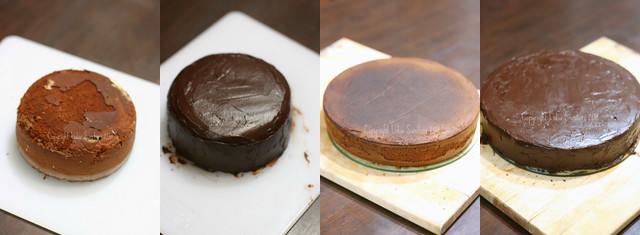
I will start with how to cover the cake with rolled fondant. I made two round shapes of choco "lapis surabaya" cakes (9 and 6 inches). Then spread some chocolate ganache on top and side of the cooled cakes and let them sit until set. You may prepare the cake a day before.
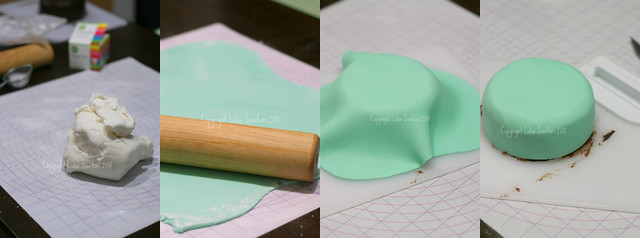
Then you may color the rolled fondant with the desired color. For this cake, I used mixed of blue and yellow gel coloring until I got the color I like. Flatten the colored fondant using rolling pin on powder sugar dusted surface. Keep rolling until the desired thickness (not too thin, so it would not tear during covering, app. 4-5mm). During rolling, lift up the fondant once awhile to avoid sticking on the table. Put the rolling pin in the middle and lift up the fondant unto it. Transfer the fondant immediately on top of the cake. Smoothen the to surface and then the side using the easy glide smoother. Trim off the excess fondant using sharp knife. For complete photo tutorial, check this out.
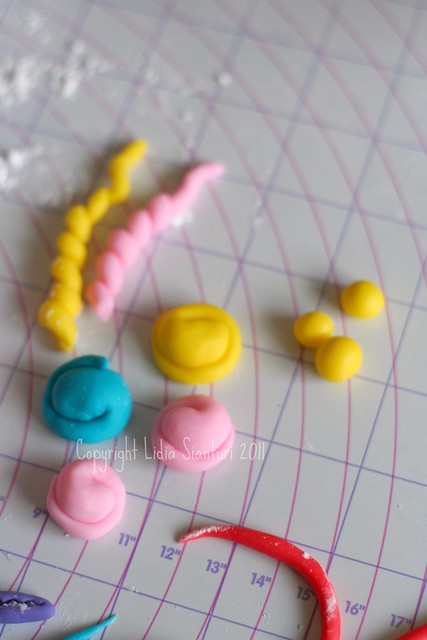
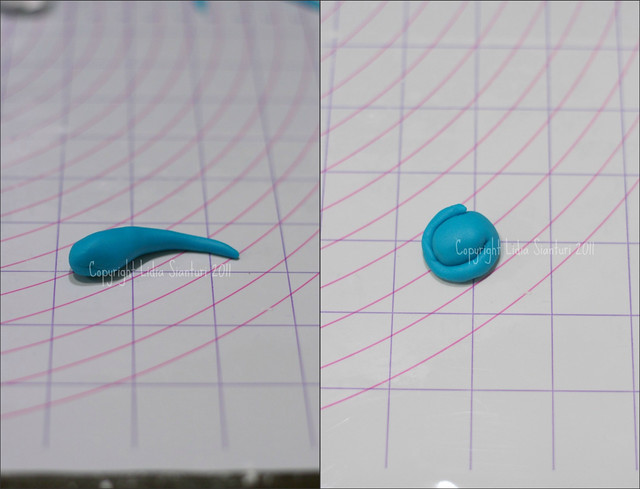
For simple sea shells, make a tadpole shape as shown on the first picture, and then curl in the smaller end and glue it on the big end using a little amount of water (as shown on picture no.2).
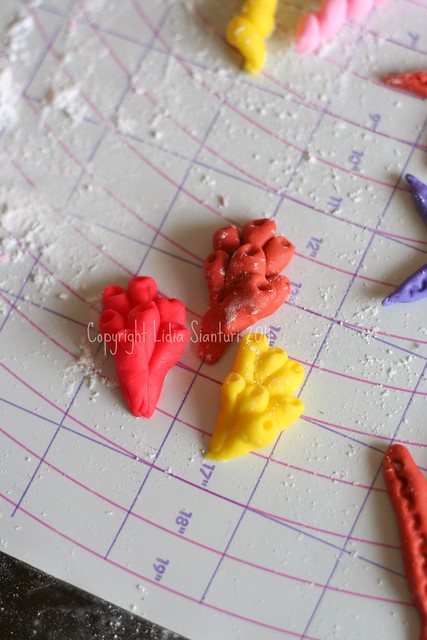
The last one, I made some coral reef by putting together 7 short pipes (just at one end), and squeezed them to give smaller shape on that end. Then make a hole on each pipes using toothpicks. No step by step pictures for this either.
Arrange the sea creatures on the cakes and stick them on using some water. To make sand, please read this post.
Well, that's it..Hopefully readers can understand my simple explanation. Please contact me for further questions on this simple tutorial. Happy decorating!
No comments:
Post a Comment