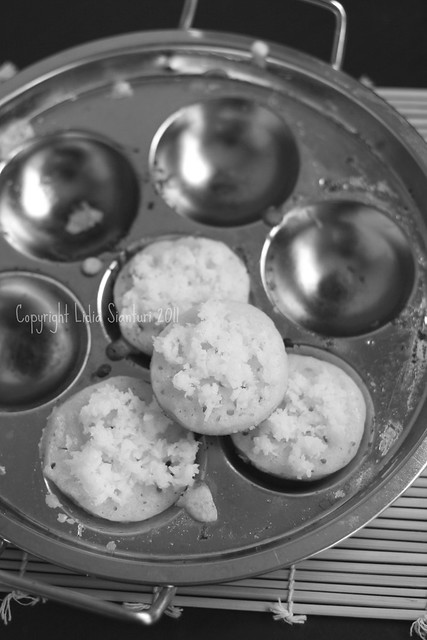
Here I come again for BWW#8, a wonderful weekly event to explore the beauty of black and white photography. To join the fun, please check this out. This time, I would like to share a traditional snack from Indonesia, called apem panggang (Indonesian Rice Flour Pancake). Apem is usually served during ceremonial event in Javanese tradition, especially around the Palace.
My contemplating place...when I have a lot to think about but no paper in hand...when I envy people who have a little time to write yet they publish many written thought. My hiding place and excuses... After all...it's about food and it came from my humble small kitchen in a corner of cold place.
Wednesday, August 31, 2011
Tuesday, August 30, 2011
Thursday, August 25, 2011
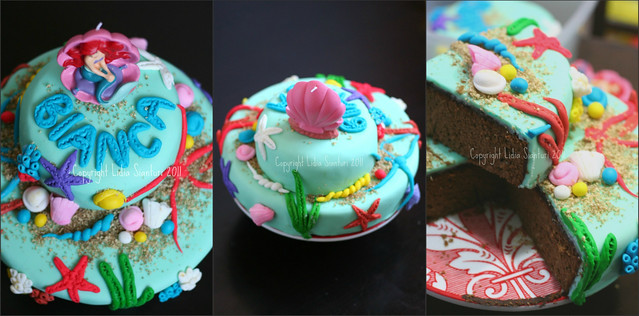
Princess Ariel Birthday Cake for My Beautiful Princess
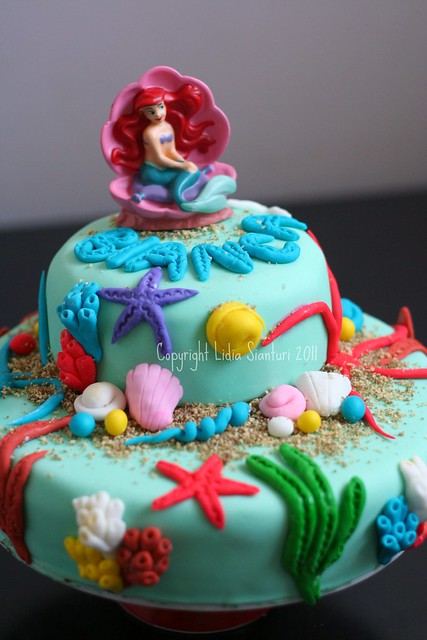
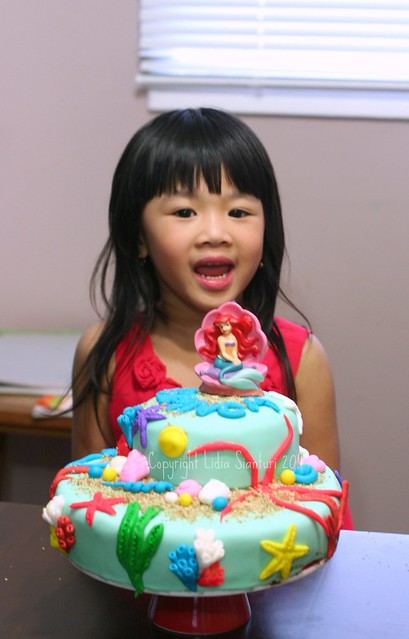
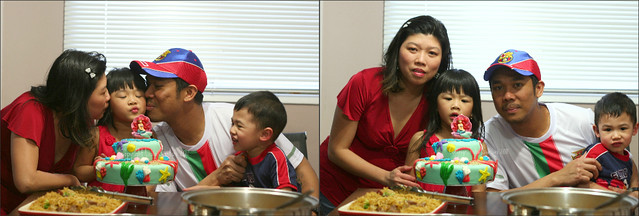
To make her kids happy is every mom's greatest desire. And that's my desire too to make my kids happy...super happy, especially on their birthday. It's been more than 3years I really wanted to make birthday cake for my own kids, well I have had that desire since Bianca was born. I envy people who have tons of activities, full time worker, yet still have time to make birthday cake for their owns. Thus last April, I put up together all my guts to make my very first fondant covered birthday cake for my Princess. She likes Princess Ariel, the Little Mermaid, so I decided to use "Under the Sea" theme. And here is the result...Look how happy she was!
Ingredients:
Cake Base: I used 1.5x recipe of Lapis Surabaya cake (the economic version), but make it all chocolatey, no layer no filling.
A: (remember to multiply it by 1.5)
- 8 egg yolks
- 9 egg
- 300g fine granulated sugar
- 1 tsp vanilla essence
- 150g all purpose flour
- 1 tsp ovalet/emulsifier
B:
- 150g all purpose flour
- 25g corn starch
C:
- 250g melted margarine
D:
- 1 Tbsp rum
- 1 Tbsp chocolate paste
- 8 egg yolks
- 9 egg
- 300g fine granulated sugar
- 1 tsp vanilla essence
- 150g all purpose flour
- 1 tsp ovalet/emulsifier
B:
- 150g all purpose flour
- 25g corn starch
C:
- 250g melted margarine
D:
- 1 Tbsp rum
- 1 Tbsp chocolate paste
Decorations:
- Princess Ariel candle
- rolled fondant
- food grade gel coloring
- 2 pieces vanilla flavored wafers
- 2 Tbsp brown sugar
- chocolate ganache
- 2 bamboo skewers
Mix and whisk A until fluffy. Add B and mix it under low speed. Add C and mix it well. Add D into it and mix it well. Pour the batter into greased 9inches and 6inches round cake pans. Bake at 175C for 35min until done. Cool it off. Spread the chocolate ganache on top and side. Cover with colored rolled fondant. Put the small cake on top of the big one, insert 2 bamboo skewers to hold the two cakes together. Decorate as you like.
For sand: mix brown sugar and wafers in a chopper, then sprinkle on the cake at the desired part.
Note: tutorial on how to make sea creatures will be posted soon.
I also want to submit this post to Masak Bareng Yuuk (birthday edition). Happy birthday Masbar!

Wednesday, August 24, 2011
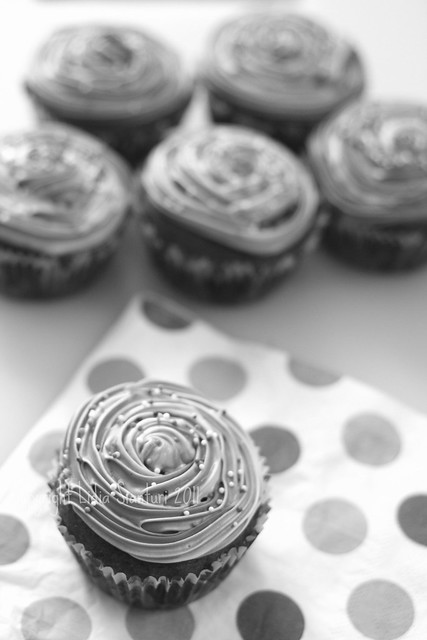
Black and White Wednesday - Week#7 - Rainbow Swirl Cupcake
For more information to join this event, please check this out. I was using Red Velvet Cupcakes as base, the recipe will be posted later.
Monday, August 22, 2011
Bubur Biji Salak (Sweet Potato Balls Dessert)
Ingredients:
500g sweet potato
200g tapioca flour (I used sago flour)
1L coconut milk
250g palm sugar, shredded
2 pandan leaves
salt
water
tapioca mixture (1Tbsp of tapioca+3Tbsp water)
I used half of the recipe.
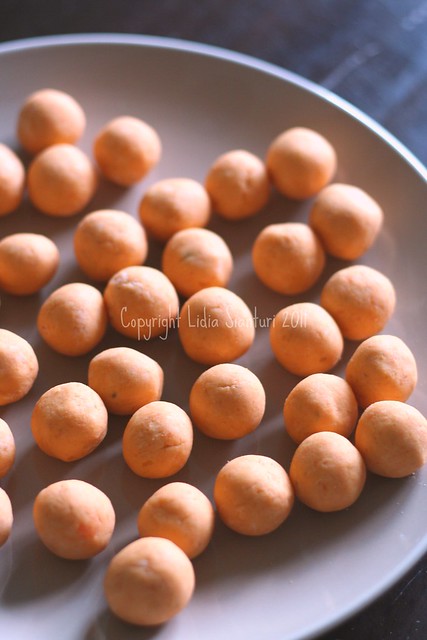
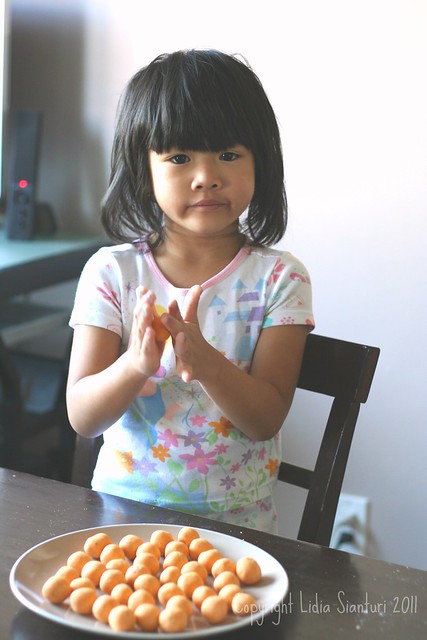
Here is how the raw balls look like.
Directions:
Boil the sweet potato until cooked, peel off the skin and mash it while it is still warm. Cool it off, add the flour little by little and mix well. Continue to mix until it does not stick. Form small balls as shown as the above picture. Boil some water in a pot and transfer the ball inside the pot while it is still boiling. Wait until it is floating (means it is cooked). Take it out of the boiling water and keep it aside.
Take 125mL coconut milk, add salt and boil it. Keep it aside.
Meanwhile, boil the rest of the coconut milk, shredded palm sugar, pandan leaves, and salt. When it is boiling add the tapioca mixture and stir it instantly until thicken. Add the cooked sweet potato balls. Turn off the stove. To serve, pour it into a small serving bowl and add some cooked coconut milk on top. You may enjoy it warm or cold (refrigerate before serving).
I got big help from this big girl...good job Bianca!
Wednesday, August 17, 2011
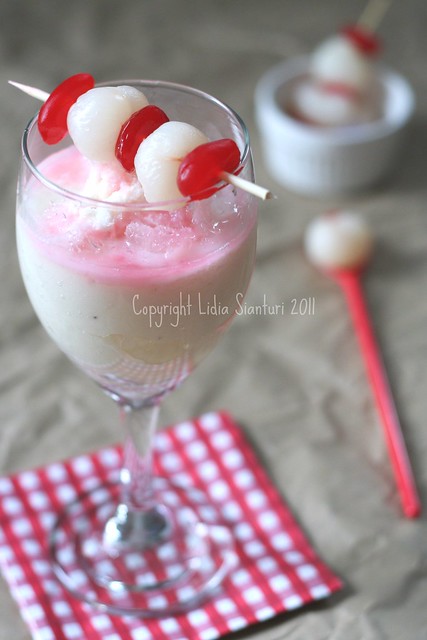
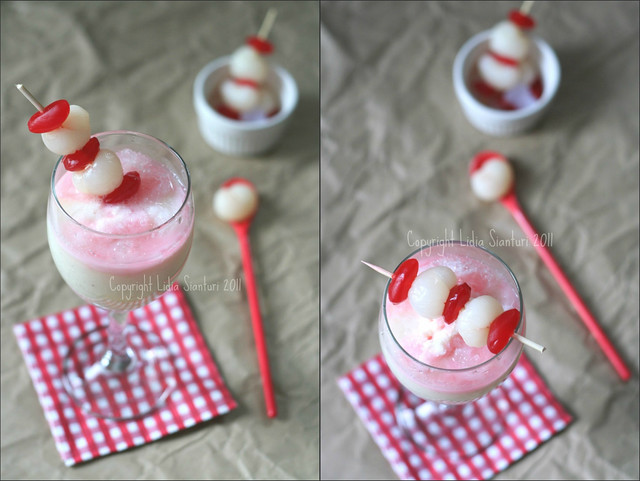
Es Sirsak Manado (Manadonese Style Soursop Shake) - Red and White Food Photo 2011
It has been more than 7years I had not had soursop (read: not seen it anywhere around me). So last week when I saw it in an Asian store, no more thinking twice, it was bought! When I got home, I just realized it was soooo expensive..it cost me more than 11$ for 2Lbs of it...what a rip-off! O well..I really want it, so 11$ got to be good then. One of my fellow food blogger suggested me to make this shake, to be honest, it was the first time for me to hear the name of it...never heard about it before and sure never had it before either. Thus I check her blog out, and found the recipe here (thank you mb Ria). A little modification was made and here is my version:
Ingredients:
- 1.5cup of soursop, discard the skin and seeds
- 1 cup of coconut juice
- 1.5cup of soursop, discard the skin and seeds
- 1 cup of coconut juice
- 0.5 cup of shredded coconut meat
- 0.5 cup of nata de coco, discard the sugary water
- 0.5 cup of red palm seeds, discard the sugary water
- 1 cup of longan, discard the sugary water
- 1 cup of shaved ice
- 2Tbsp of sweet condensed milk
- 1Tbsp of cocopandan syrup (red color)
Directions:
Blend soursop, coconut juice and meat in a blender until smooth. Put some of nata de coco, palm seeds and longan into a serving glass. Add the soursop shake and top it up with shaved ice. Drizzle some sweet condensed milk and cocopandan syrup on top.
The recipe is good to make 3 tall glasses of shake. Serve immediately.
I would like to submit the first picture to the Red and White Food Photo 2011, in order to celebrate our National Independence Day. Happy 66th Independence Day Indonesia!
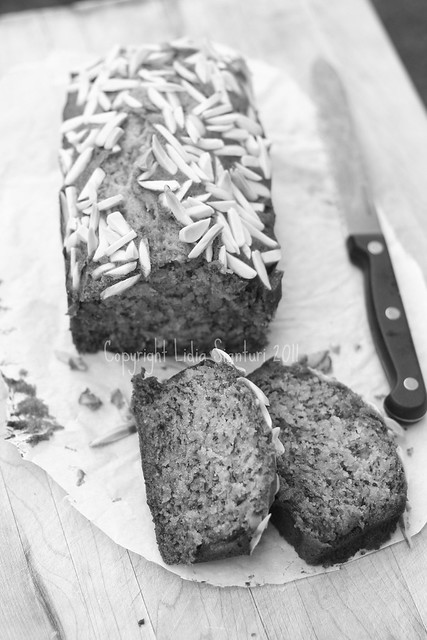
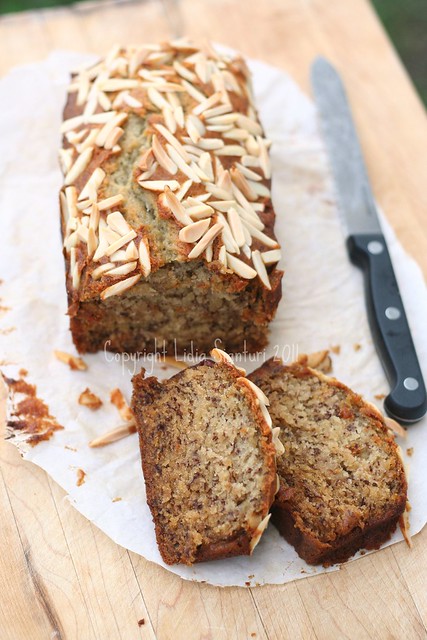
Black and White Wednesday - Week#6 - Banana Cake
This cake has been famous and become chit-chatting object among my Indonesian food blogger friends (we'd been talking and sharing the recipe over messaging group), mainly because it is so easy to make, no need to use mixer and the result is so yummy.
Source: Simply Recipes
Ingredients:
- 3 0r 4 ripe bananas, mashed
- 1/3 cup melted butter
- 1 cup sugar (I reduced to 3/4cup)
- 1 egg, beaten
- 1tsp vanilla essence
- 1tsp baking soda
- pinch of salt
- 1.5 cups of all purpose flour
Directions:
Preheat the oven to 350F (175C). With a wooden spoon, mix butter into the mashed bananas in a large mixing bowl. Mix in sugar, egg, and vanilla. Sprinkle the baking soda and salt over the mixture and mix in. Add the flour last, mix well. Pour mixture into a greased 4x8 inch loaf pan. Sprinkle the sliced almond on top. Bake for an hour. Cool on a rack. Remove from pan and slice to serve.
